
Quality Control in Optical Lens Manufacturing: What Actually Gets Checked
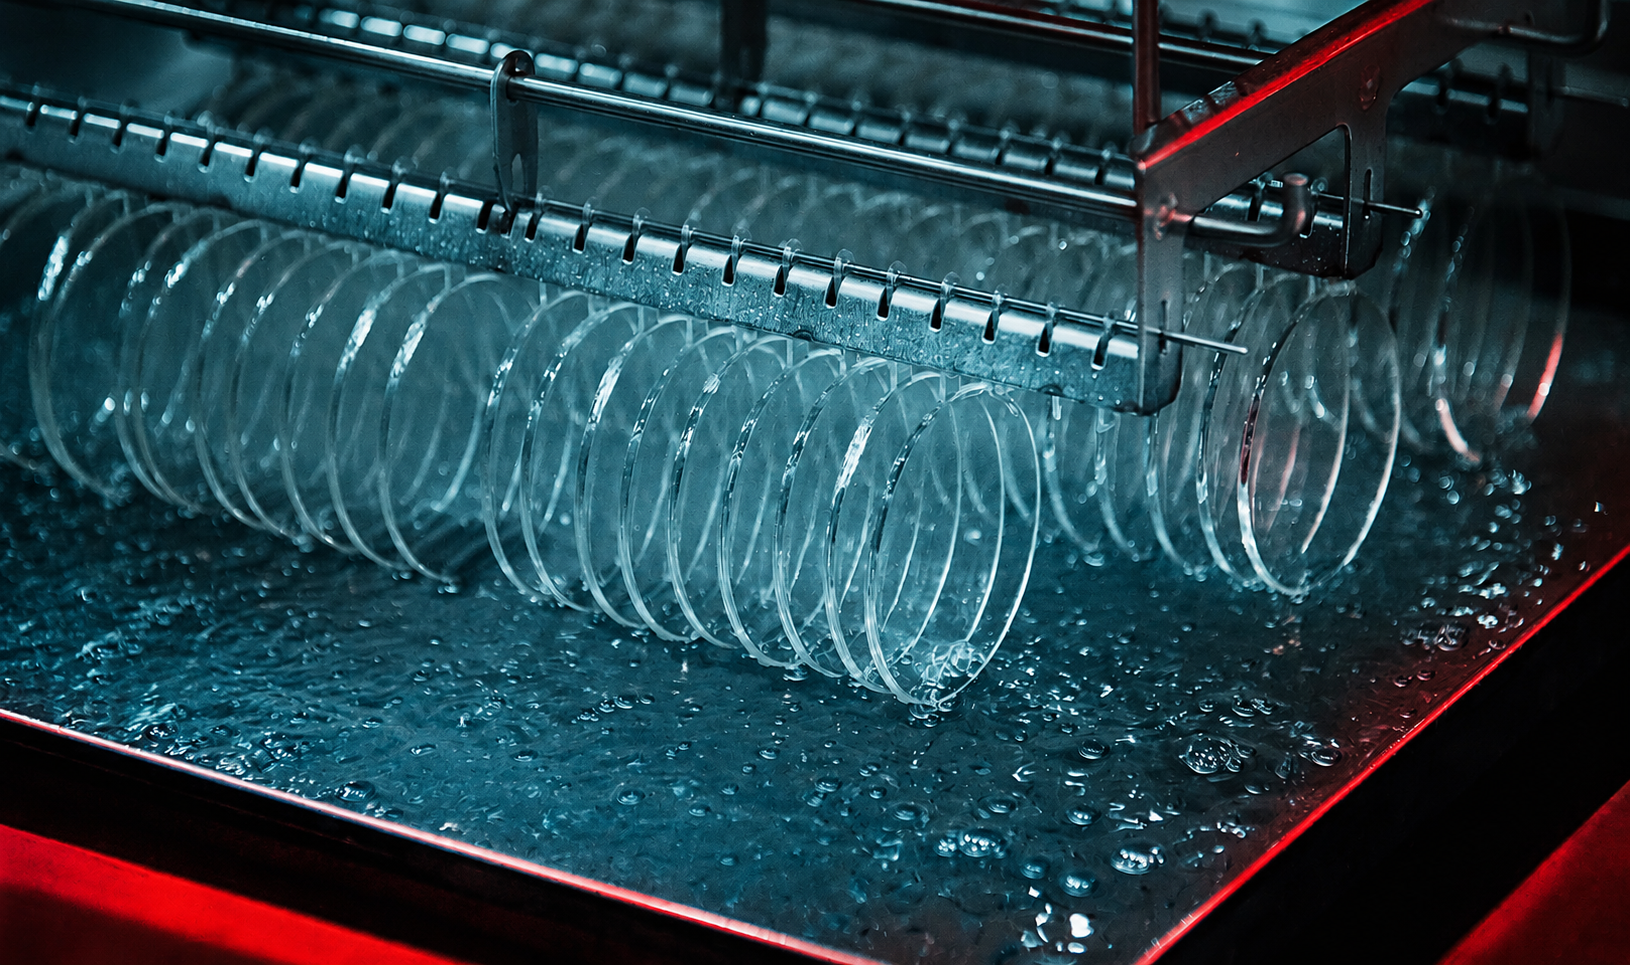

Most remakes don’t start with a bad prescription. They start with a lens that passed a quick glance. The power sat slightly off-axis. A coating had a hairline defect no one held up to the light. A base curve technically matched the order but not the frame it was going into. Quality control in optical lens manufacturing exists to catch that exact gap: the gap between “looks right” and “measures right.”
What ECPs Assume vs. What Optical Lens Manufacturing QC Actually Covers
Ask an optician what lab QC means. Most say: “they check the power on a lensometer before it ships.” That’s true. It’s also the smallest part of it. A single lensometer reading confirms sphere, cylinder, and axis at one point on the lens. It doesn’t measure surface quality. It doesn’t measure coating adhesion or edge thickness consistency. And it doesn’t confirm whether the compensated power matches the frame geometry the job was cut for.
A Chain, Not a Single Gate
Manufacturing QC in a real lab runs as a chain of checkpoints, not one gate at the end. Each stage catches a different failure mode. Skip any one of them and the risk isn’t just a remake. It’s a lens that verifies clean and still fails the patient three days later. The full quality control process covers every one of those stages, from the blank to the finished pair.
The Optical Lens Manufacturing Checkpoint Chain
Stage 1: Blank and Order Verification
Before anyone touches a lens blank, the job gets checked against the order: material, index, base curve, add power, any coating or tint specified. That sounds trivial. It isn’t. A surprising share of avoidable remakes start right here: a poly order cut on a CR-39 blank, an add power transposed during data entry. Catching the error at this stage costs one blank. Catching it after edging costs the blank, the coating cycle, and a day of turnaround.
Stage 2: Surfacing Tolerance
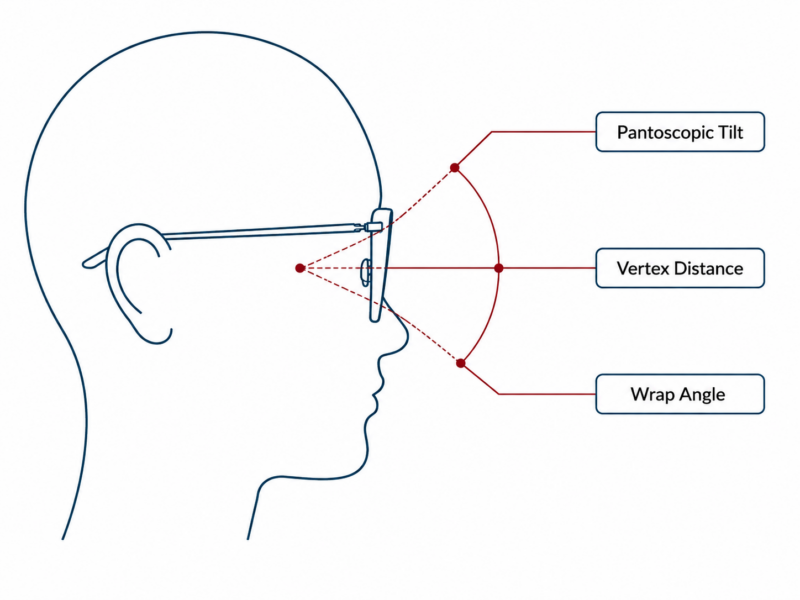
Freeform and digital surfacing generators cut to sub-micron tolerances. But the tolerance that matters clinically runs tighter than most ECPs assume. A sphere or cylinder error of 0.12 D can hide from a lensometer set to 0.25 D steps. A sensitive wearer still feels it, especially in an add power or in astigmatism near the visual axis. Tight QC verifies against the compensated, as-worn power, not just the written script. Skip that step and a correctly personalized freeform lens reads as “wrong” against the original prescription, when the frame geometry actually made it right.
Stage 3: Coating Inspection
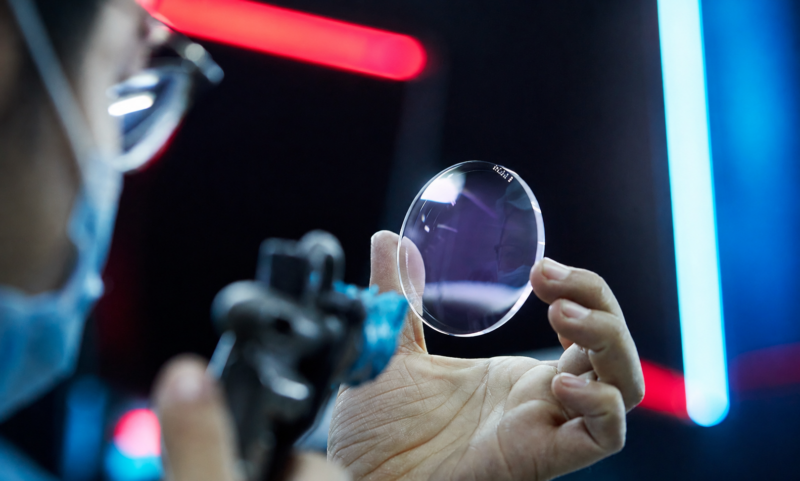
AR and hydrophobic coatings fail in ways a casual glance won’t catch. Crazing can stay invisible under normal light and show up only under raking light or magnification. Coverage can run thin near the bevel edge. Adhesion defects can take weeks to surface. In-house anti-reflective coating control matters here for one specific reason: it lets the lab inspect immediately after cure, under controlled lighting. A lab that sends coating out is trusting the vendor’s own pass/fail call instead. An uninspected lens leaving the coating chamber is a callback waiting for a humid South Florida afternoon.
Stage 4: Edging and Fit Verification
The edger cuts to the frame’s tracing, but power isn’t the only thing checked here. Bevel placement, edge thickness balance, and drill-mount hole positioning get verified separately. A lens can read perfectly on a lensometer and still crack a rimless mount, because the bevel sat a quarter-millimeter off center. That failure has nothing to do with prescription accuracy. It’s purely mechanical fit.
Stage 5: Final Verification
The last check confirms power, base curve, prism, and cosmetic quality together, against the original order, not a generic tolerance table. This is also where a lab catches the rarer, costlier error: the right lens, correctly made, sitting in the wrong job envelope.
Why the Chain Matters More Than Any Single Instrument
A Focovision or Visionix lensmeter, accurate to roughly a micron, often gets cited as proof of quality control. It matters. But an instrument only catches what it’s pointed at. A ±1 micron lensometer reading confirms power at one location. It says nothing about coating adhesion or bevel placement. In optical lens manufacturing, the chain closes that gap, not any single station.
Tracking Failures, Not Just Counting Them
Remake root-cause analysis matters more than remake counting. A lab that only tracks how many lenses get remade learns nothing about where the failure occurred. A lab that tracks which checkpoint caught the problem (or missed it) can actually lower the failure rate instead of just replacing the lens.
What This Means for Evaluating a Lab Partner
A practice rarely gets to watch a lab’s QC chain in person. So the useful questions target the chain itself, not a general “quality control” claim:
- Is coating done in-house, and inspected right after cure, or sent out and taken on faith?
- Does final verification check compensated power on freeform orders, or only the original script?
- Does the lab track remakes by which stage failed, or only by total count?
The answers separate a lab that ships fast from the best optical lab for optometrists , one that ships correctly the first time. For a practice absorbing the cost of every remake, that’s the turnaround number that actually matters. It’s the same discipline behind reducing optical remakes and non-adaptations: most of the reduction happens upstream, at checkpoints the ECP never sees.
The Bottom Line
A lensometer reading is a snapshot. Quality control in optical lens manufacturing is a chain: blank verification, surfacing tolerance, coating inspection, edging accuracy, final verification. Each stage catches a failure mode the others can’t. A lab that treats QC as one gate at the end will occasionally ship a lens that passes and still fails. A lab that treats it as a chain catches the failure first.
Frequently Asked Questions
- What’s the difference between a lensometer check and full quality control?
A lensometer confirms power (sphere, cylinder, axis) at one point on the lens. Full QC covers the entire chain instead: blank and order verification, surfacing tolerance, coating inspection, edging accuracy, and final verification. Each stage catches a different failure mode.
- Why would a lens read correctly on a lensometer and still fail for the patient?
Because a lensometer skips coating adhesion, edge or bevel placement, and compensated power against the frame’s real geometry. A lens can verify clean on power alone and still fail mechanically or optically. A single instrument reading won’t catch either problem.
- What is compensated power and why does it matter for QC?
Compensated power is surfaced power adjusted for the frame’s real tilt, vertex, and wrap, so the as-worn power matches the original prescription. QC that checks only the written script, not the compensated target, will flag a correctly personalized freeform lens as an error.
- Does in-house AR coating actually improve quality control?
It removes a hand-off. A lab coating in-house can inspect immediately after cure, under controlled lighting. A lab that sends coating out relies on the vendor’s own pass/fail judgment first.
- How should a practice evaluate a lab’s quality control without seeing the lab floor?
Ask specific process questions instead of accepting a general quality claim. Is coating in-house and inspected on-site? Does freeform verification check compensated power? Are remakes tracked by which checkpoint failed, or just counted?
- Is tighter QC tolerance always better?
Not universally. Tolerance should match clinical significance. A 0.12 D error matters more in a strong add, or near the visual axis in high cylinder, than in a low, flat single-vision Rx. Good QC applies tighter scrutiny where the error is actually perceptible.


